I have been wanting to give it a try for a while: an RTOS with enough abstraction to make your embedded app multiplatform, backup up by the Linux foundation. So I tested for you: developing a Zephyr RTOS device driver. I will give my tips and thoughts about it.
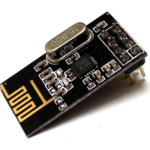
The project idea comes from my gizmo drawer: I have several standard eval kits such as Nucleo STM32, ESP32 and RF52DK. I also found several nRF24 2.4GHz transceivers I bought some time ago on AliExpress for a DIY project, and it does not have Zephyr support yet.

I have watched carefully the sir Marull-Paretas in Mastering Driver Development, and let’s have some fun with that!
Also, you can refer to this tutorial from Bootlin.
1- Setting up the work folder
First, I forked the example app:
https://github.com/zephyrproject-rtos/example-application
Oh but don’t git clone, you have to use west!
west init -m https://github.com/zephyrproject-rtos/example-application --mr main my-workspaceDon’t ask me how I know git cloning does not work. I really need to read the readmes sometimes…
If you followed the base tutorial to install Zephyr, you will have the complet sources in ~/zephyrproject, but the example application has its own copy with a lighter modules folder.
Here is my new Zephyr driver workspace, with its own Zephyr copy and its own module folder:
zephyr_driver
└── my-workspace
    ├── driver_nrf24l01
    |   ├── west.yml
    |   ├── CMakeList.txt
    |   ├── ...
    |
    ├── modules
    |   └── hal
    |       ├── cmsis
    |       ├── espressif
    |       ├── nordic
    |       └── stm32
    └── zephyr
        ├── arch
        ├── boards
        ├── cmake
        ├── CMakeLists.txt
        ├── ...
Don’t forget that your project will use its local Zephyr, the one with fewer modules – those contain third-party HAL code. If you need more, they are downloaded automatically by west, you just have to add them to west.yml project file and call:
west update2- Driver writing
nRF24 is a small 2.4 GHz transceiver, accessible via SPI bus, with a bunch of register described in its datasheet, the usual stuff.
There is a pretty neat Raspberry Pi implementation, I used it for reference. The header file describing registers was specially useful to prevent typos whilst copying datasheet.
Then, Marull-Paretas sensei says we have to choose between:
- Generic API implementation, or
- Custom API implementation
The API is a list of function that can be called from the userspace application. It is far better to have a generic API, since it would allow to change the component for an equivalent one without any modification in the application code. But in my case, there is no proprietary radio API currently implemented, so I will have to start with a custom one, and hopefully change it when a generic API is released.
Next, I modified the example-application to only keep out-of-tree driver skeleton files, rename them, and modify the configuration files so that it builds correctly. I also modified project files to call my work target, a Nucleo board.
Once the application skeleton is ready, it is time to implement the real component logic, with datasheet in one hand and logic analyzer in the other.
Driver and example application
The most important file of all is the driver source file, in my case:
./drivers/nrf24l01/nrf24l01.cBut it is not standalone and has to be called by a main.c somewhere:
./app/src/main.cZephyr calls its driver initialization (in my case nrf24l01_init) before starting the user application. If you like to write some kind of code blob and care about slicing it into functions later, it is possible to put everything in the init function and compile an empty main.c, before you create the rightful API functions (that is a very personal method, don’t do this if you prefer to write clean code from the start).
Device tree
In your driver, you will copy device tree data in two structures:
struct nrf24l01_configstruct nrf24l01_dataThe config structure includes for instance GPIO and bus references. It is a const variable, because they are not supposed to change during runtime. The data structure can be modified, so I ended up adding in it one or two variables I would have liked to declare as globals.
Every device tree option is listed and described in a Yaml file called the “bindings”. This file is both documentation and code, it is mandatory and you will have to be careful about filenames and typographic subtleties. I spend a full hour scratching my head because I called this file “nrf24l01.yaml” instead of “nordic,nrf24l01.yaml”.
./dts/bindings/nrf24/nordic,nrf24l01.yamlIn my example, I did not have to create an entire device tree because I am using a standard evaluation board. I simply added nrf24l01 in a device tree overlay.
./app/boards/nucleo_f756zg.overlayConfiguration options
I also added a bunch of Kconfig options to my driver, the most important being the switch between polling behaviour and interrupt behaviour.
./drivers/nrf24l01/KconfigThose options are then selected in the app project file:
./app/prj.confNote that it would have been possible to choose this type of option in the device tree. Technically, it would have been the same, but philosophically, you are supposed to put hardware-related things in the device tree and software-related choices in the Kconfig. There is a grey area, since “polling” will be most useful when the hardware interrupt is not available, but it’s how it’s done in mainline drivers.
Custom API
Custom API is described in the include folder:
./include/app/drivers/propy_radio.hIt is not possible to have the same name for both API functions and their driver implementations, even if the API is only implemented by the one driver. In my case I decided to name my API “propy radio” so that other proprietary radio chips can fit it.
On application side, “propy_radio_read” are “propy_radio_write” will be called, and they will “nrf24l01_read” and “nrf24l01_write”.
CI testing
In my case, it is hard to test this project with Github workflow and Qemu, since it is mostly hardware related. I thus removed all execution tests and set my CI to only verify that the project compiles correctly on all my platforms.
Results
You can find the resulting project here: https://github.com/everedero/driver_nrf24l01
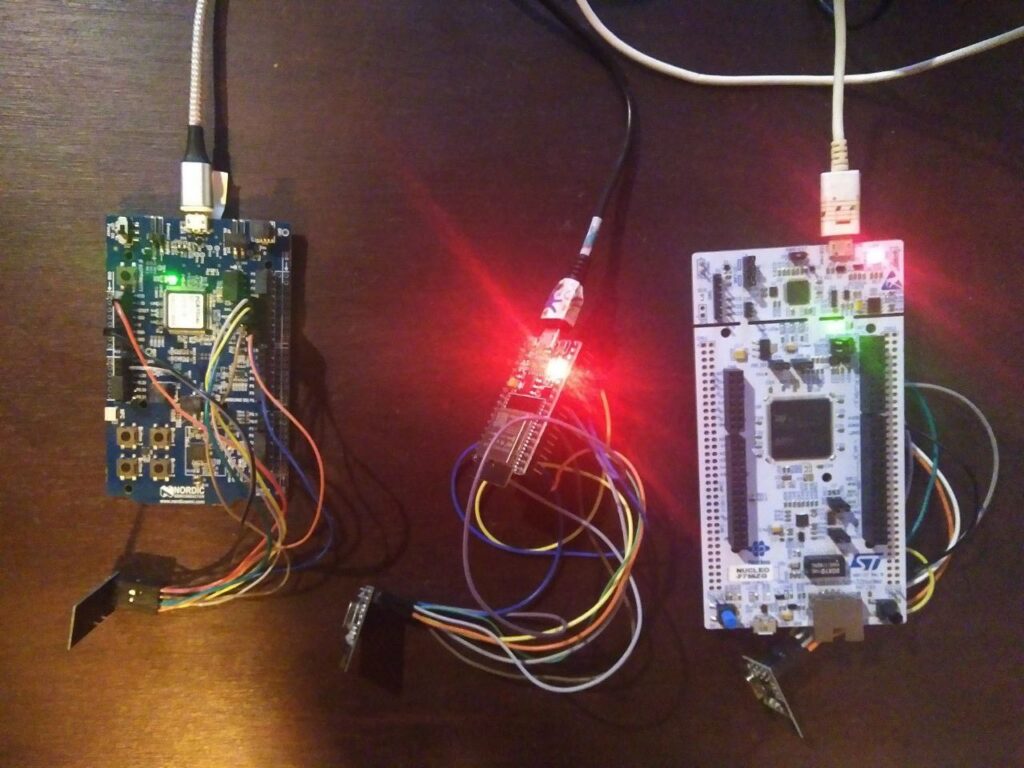
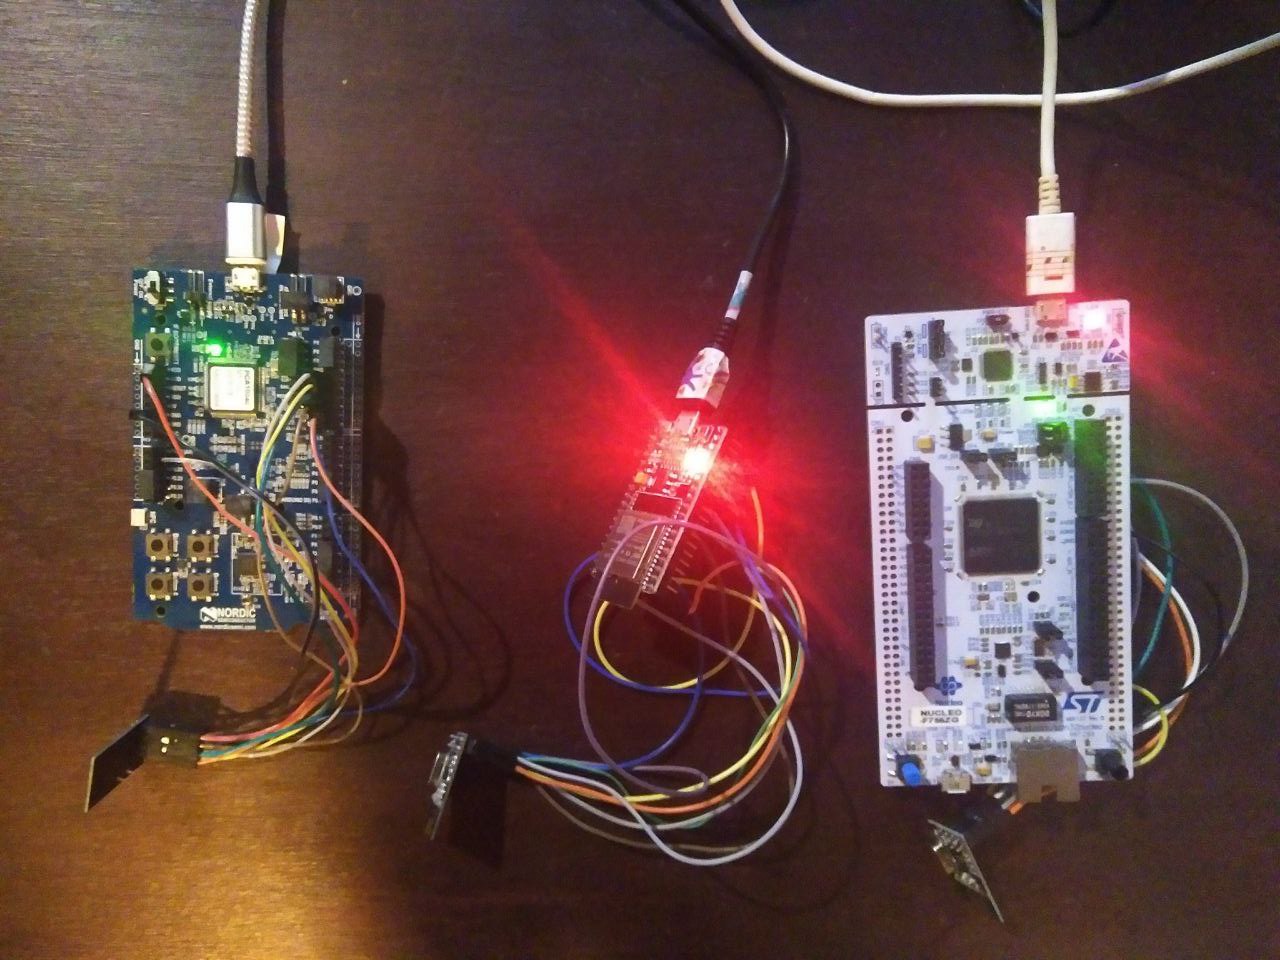
My example application uses the newly-created nRF24 driver to run it on 3 different eval kits from my drawer: a STM32 Nucleo, a nRF52DK, and an ESP32 WROOM. And it’s super easy, I only had to create a device tree overlay for each platform, with the right GPIO and pinmuxes, and it just works! In order to demonstrate this magic, my example implements 3 different roles, one for each platform: Alice starts sending a message, Bob answers the message, and Eve just quietly listens everything.

And it’s working!
Conclusion
It is often said about Zephyr that it has some steep learning curve, and I really think it does. However, I am very happy I spent some time getting this to work, because running the same code on 3 different embedded platforms, it is quite wonderful and promising.
Article updated on 02/02/2025 with new installation instructions


